Walk In, as the names suggests this section allows you to assign a table to walk in customers and start taking their orders. You can check the real-time availability of the tables making it easier to manage booking of tables and minimizing the human errors.
Adding to Queue
In case your all table in the restaurant are filled with customers or booked online, then you can add all walk customers to queue and assign them table once any of the table is vacant. To do so follow below mentioned steps.
Step 1.
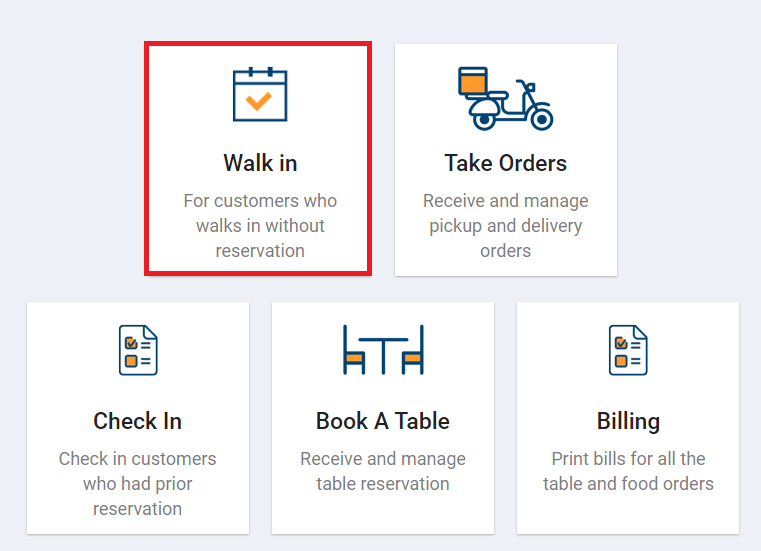
Once you log in to your Jd Omni account, on the Homepage click Walk In.
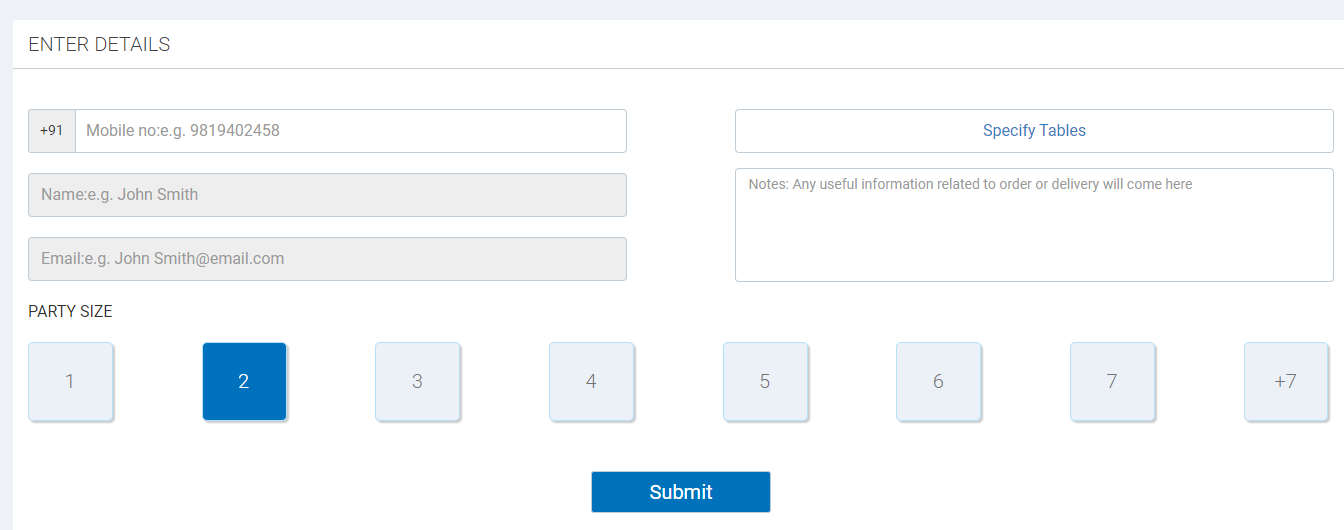
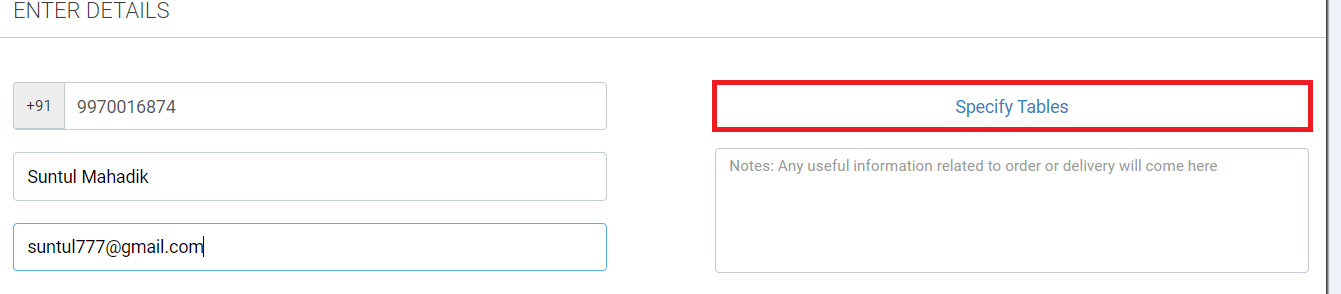
Walk in page opens up as displayed below. This section contains basic details like customer’s mobile number, name, email address, specify tables(i.e. selection of table) & party size(i.e. number of diners)
Step 2.
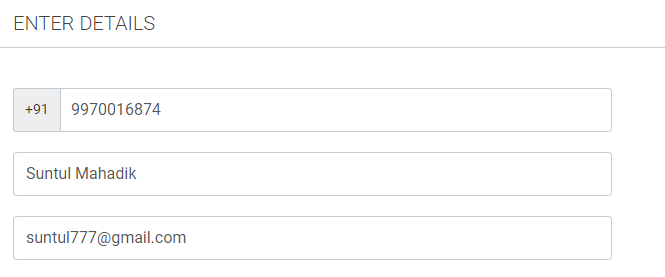
Enter customer details like mobile number, name & email address.
NOTE
- Mobile number & name of the customer are mandatory fields.
- In case of old customer all details will get pre-filled.
Step 3.
In Party Size section, select the number of diners.

In case number of diners is more then 7, then click +7 and from the modal that opens up select number of diners.
Step 4.
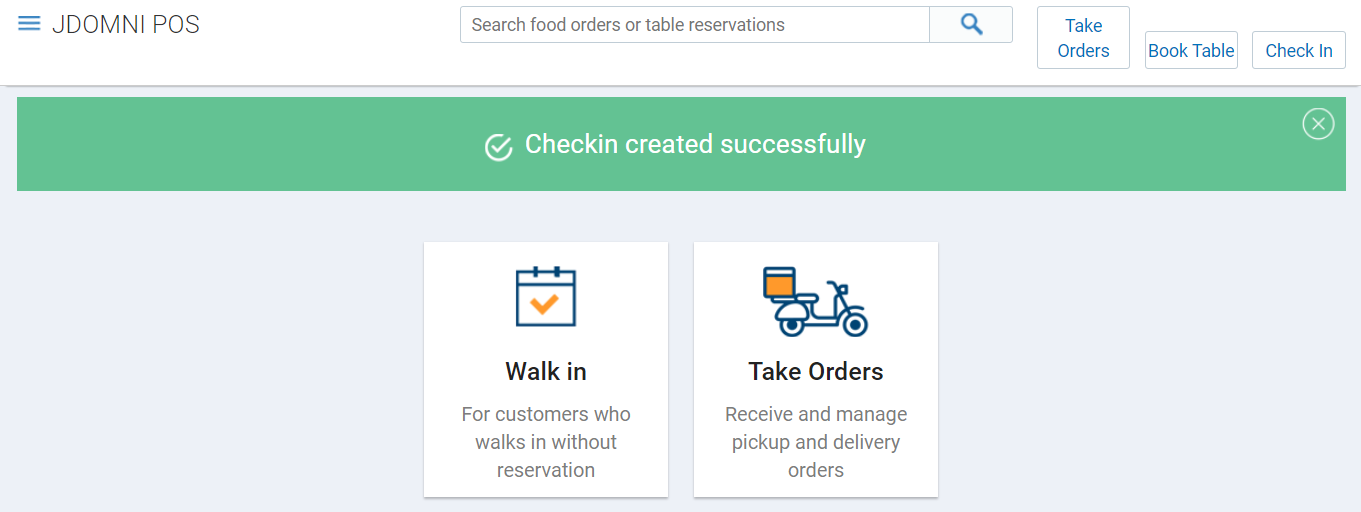
Click on the Submit button to add this customer in the queue. A message will be displayed as shown below.
Once you have added the customer in queue and now you wish to assign him a table, you can do it from Check In module.
Assigning a table
To directly assign a table to all your walk in customer follow below mentioned steps.
Step 1.
Once you log in to your Jd Omni account, on the Homepage click Walk In.
Walk in page opens up as displayed below. This section contains basic details like customer’s mobile number, name, email address, specify tables(i.e. selection of table) & party size(i.e. number of diners)
Step 2.
Enter customer details like mobile number, name & email address.
NOTE
- Mobile number & name of the customer are mandatory fields.
- In case of old customer all details will get pre-filled.
Step 3.
In Party Size section, select the number of diners.
In case number of diners is more then 7, then click +7 and from the modal that opens up select number of diners.
Step 4.
Click on the Specify Tables button to select a table.
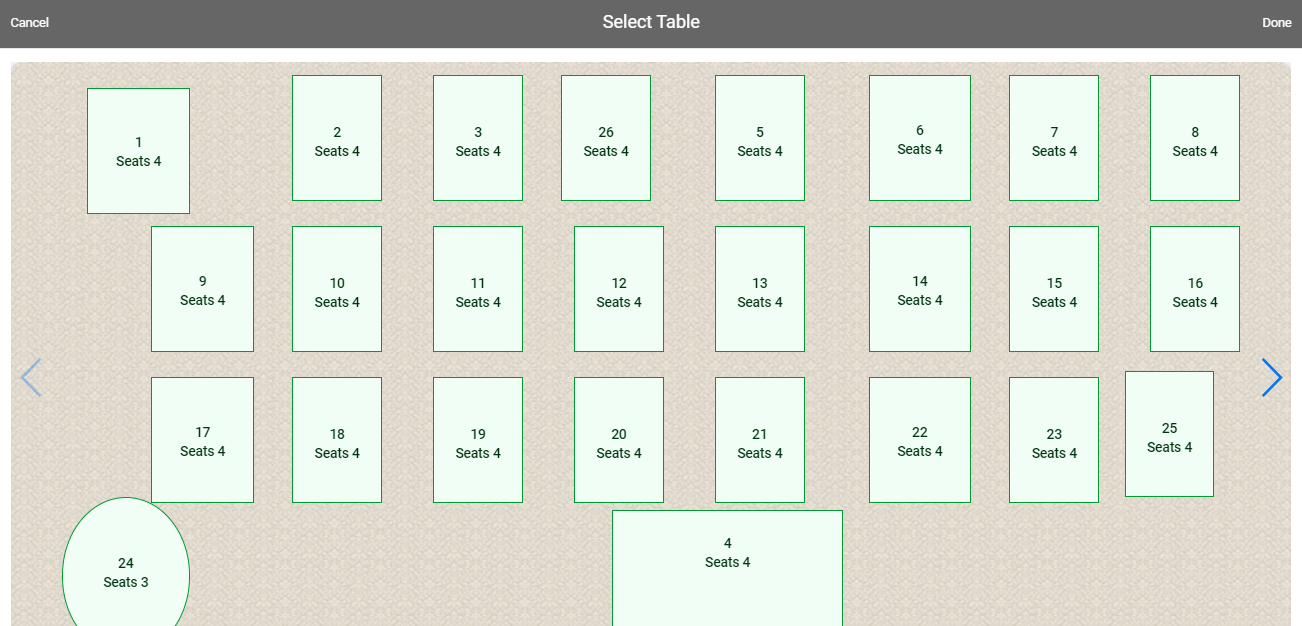
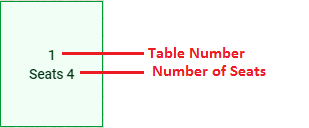
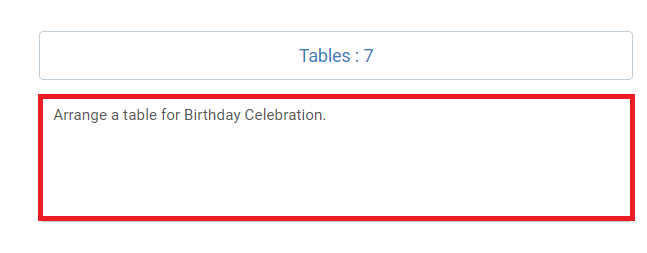
In the modal that opens up it displays the seating arrangement of the restaurant with table number and number of seats available on the table.
For example –
Step 5.
Click on the table you wish to book and then click Done on the top right corner.
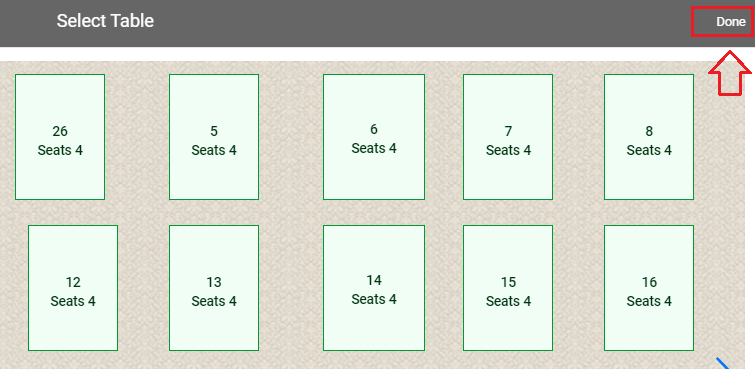
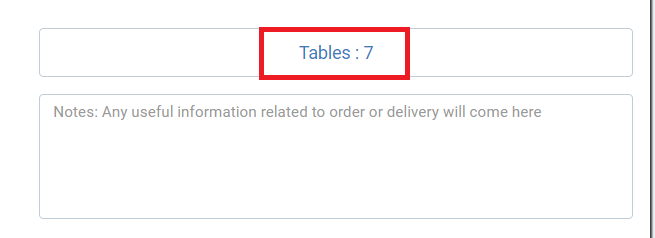
Selected table number will be displayed in Specify Tables section.
NOTE
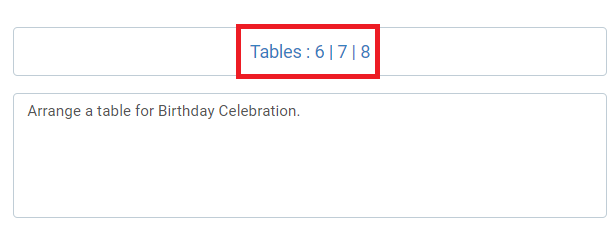
- In case you wish to book multiple tables, click on that tables that you wish to book and then click Done. Table numbers which are booked will displayed as follows.
- To book a table in different area of restaurant like first floor, second floor, bar & lounge, garden and so on, click on the area option at the bottom of the screen or
 icon as shown below.
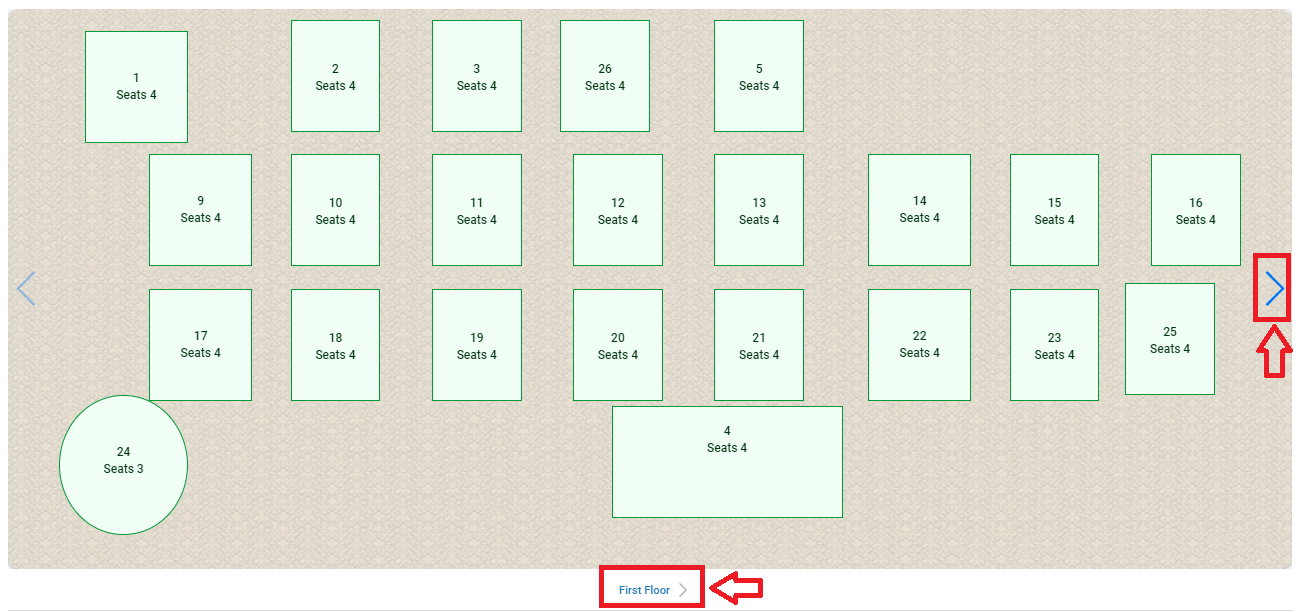
Select the area and book a table as explained above.
Step 6.
Enter any note if required.
Step 7.
Click on the Submit button to proceed.
Once done it will display Checkin created successfully message as shown below.