Book a table module allows you to receive online booking and manage the same in 2 simple steps. Depending on date, party size, time and table you can confirm the booking.
Step 1.
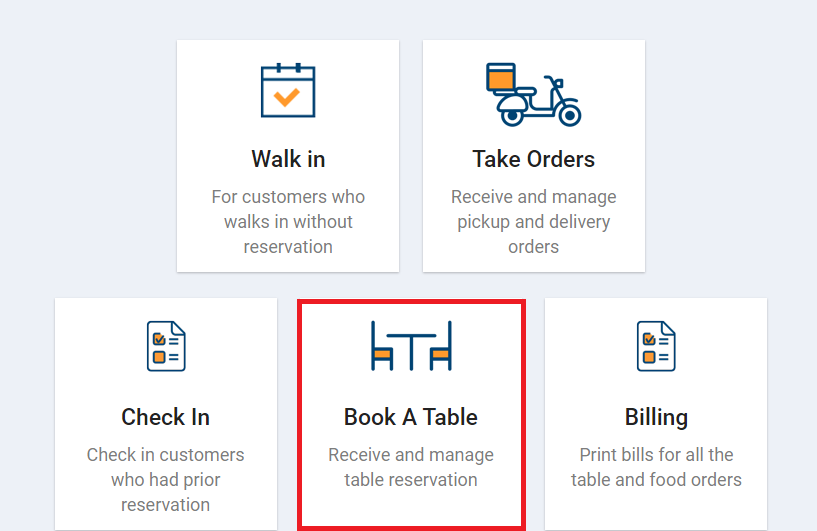
Once you log in to your Jd Omni account, on the Homepage click Book a Table.
Step 2.
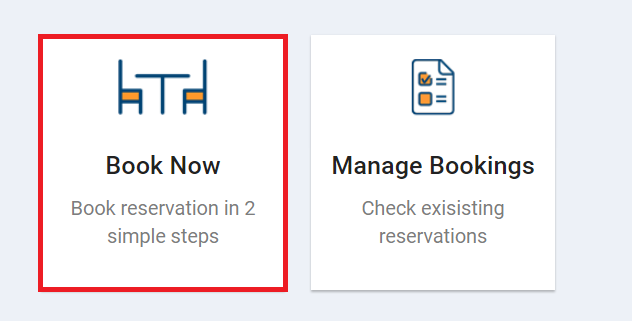
From the options that displays click Book Now.
NOTE
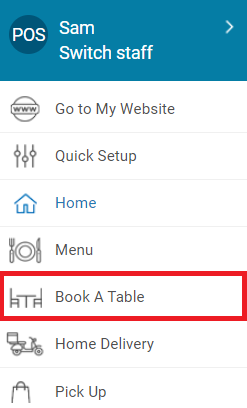
You can also navigate to Book a Table module from main menu. Click on the main menu and select Book A Table.
Step 3.
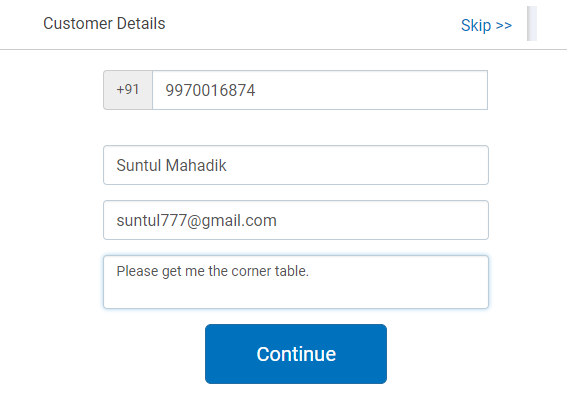
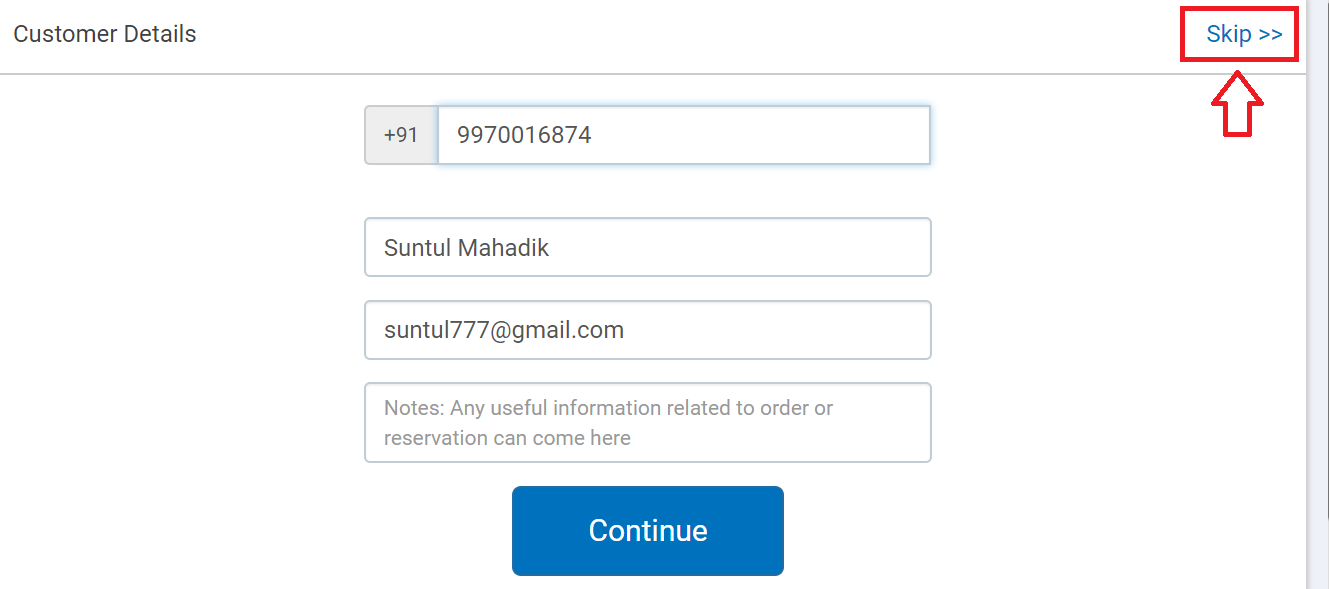
Enter customer details like mobile number, name, email address and any note if required.
NOTE
- In case you are entering customer details then mobile number & name of the customer are mandatory fields. Adding customer details allows you to view customer’s previous order and send campaign messages in future.
- In case of old customer all details will get pre-filled automatically.
- In case you wish to bypass this step then click Skip>> option as shown below.
Step 3.
Click Continue to proceed.
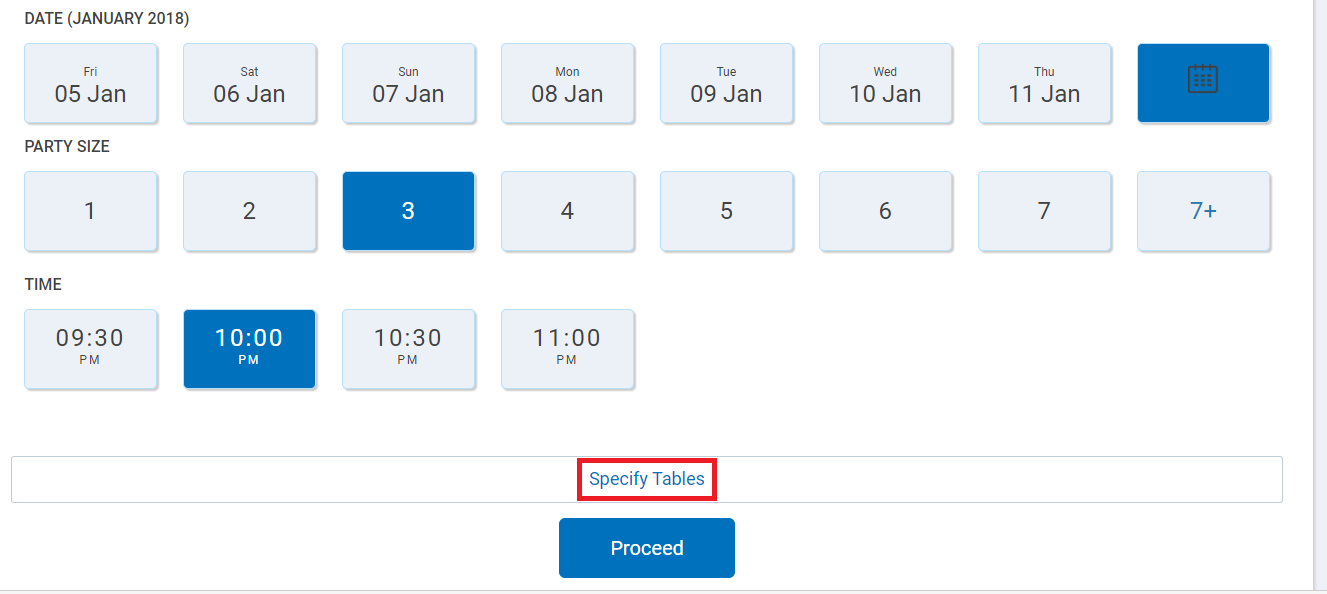
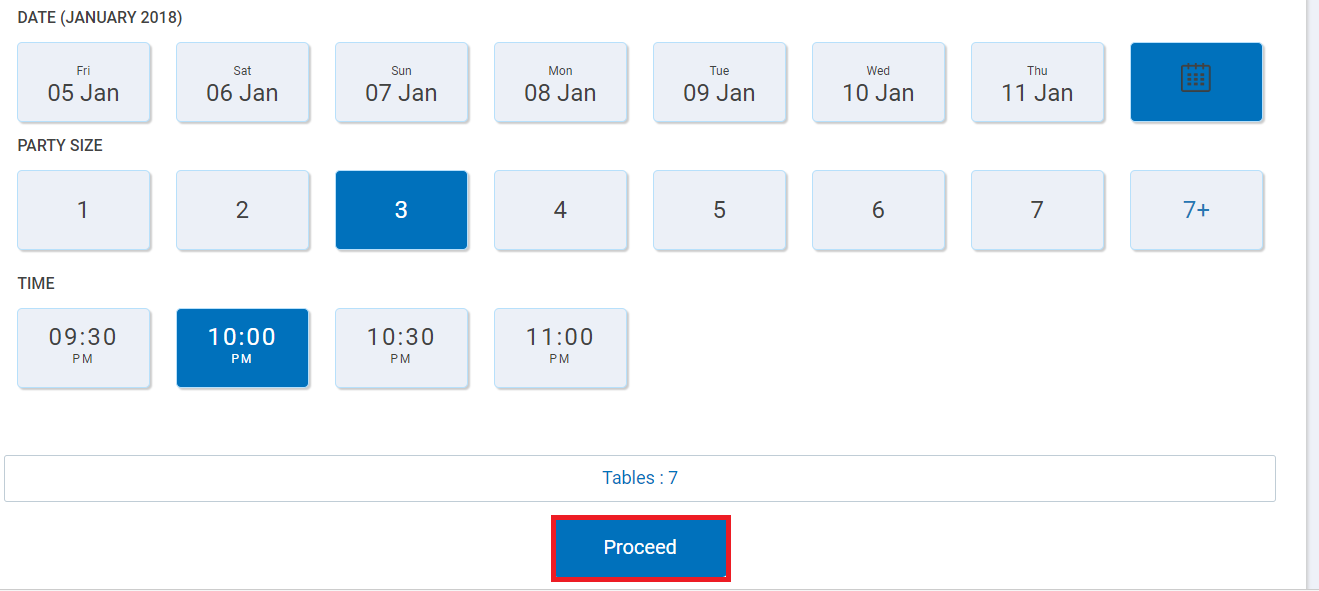
In the next modal that opens up it asks you to add date, party size, time and specify the table.
Step 4.
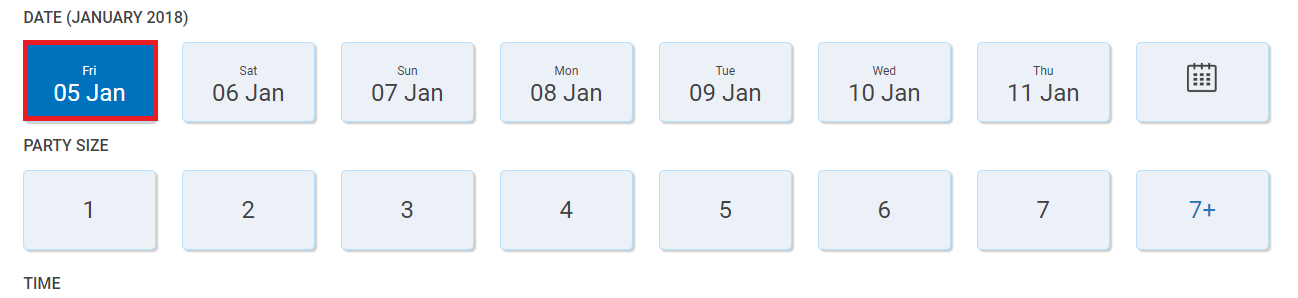
Click on the date you wish to book a table on.
NOTE
- By default, booking for first 7 days will be displayed.
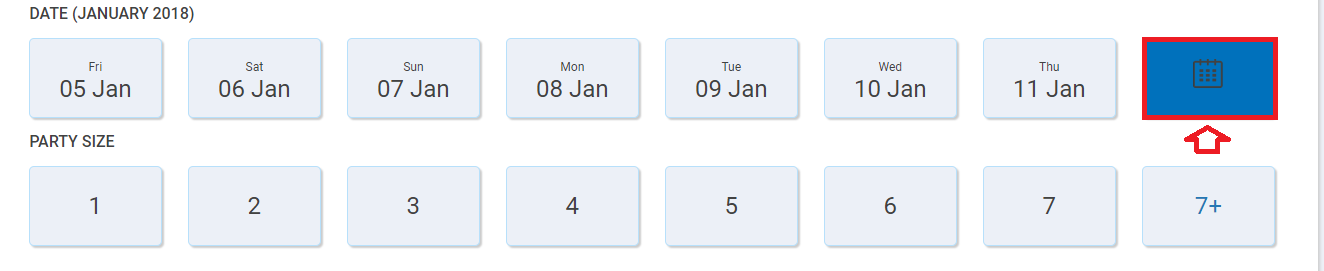
- In case you wish to book a table after 7 days, click on the calendar icon and select the date.
Step 5.
In Party Size section, select the number of diners.

In case the number of diners is more then 7, then click on +7 and from the modal that opens up select number of diners.
Step 6.
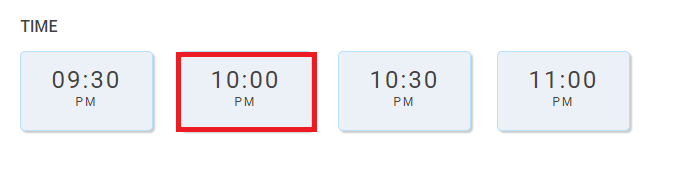
Click on the time you wish to book a table.
Step 7.
Now that the date, party size and time is selected, to select a table click on the Specify table.
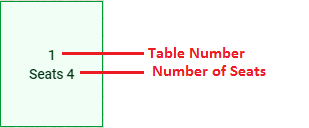
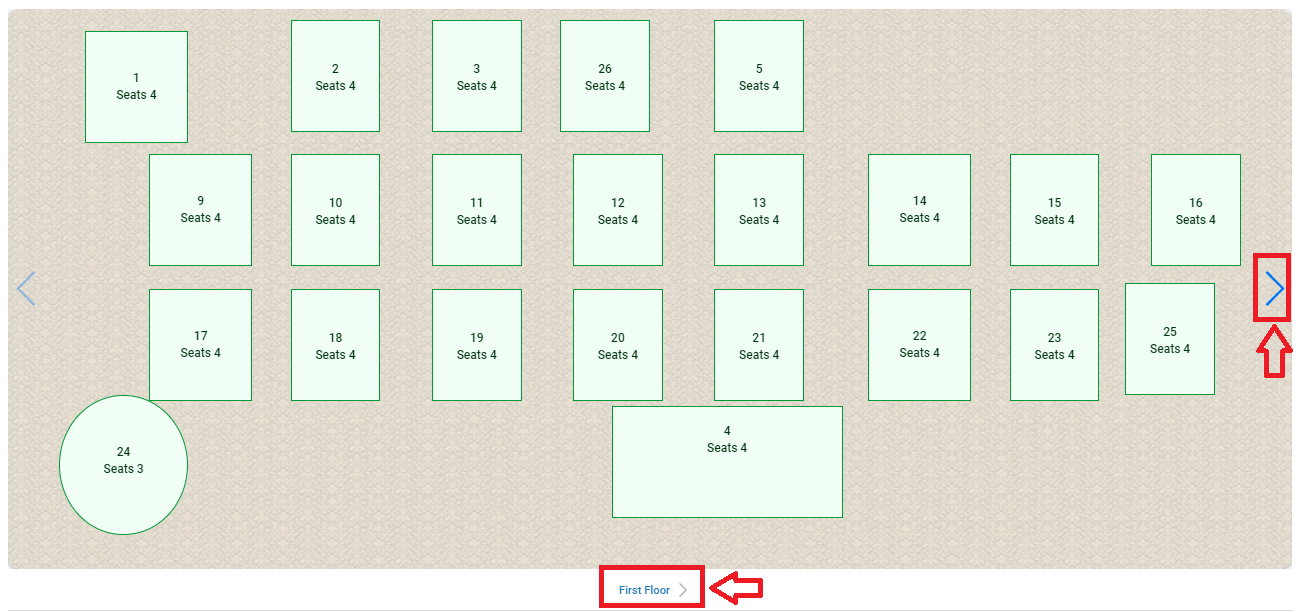
In the next modal that opens up it displays the seating arrangement of the restaurant with table number and number of seats available on that table.
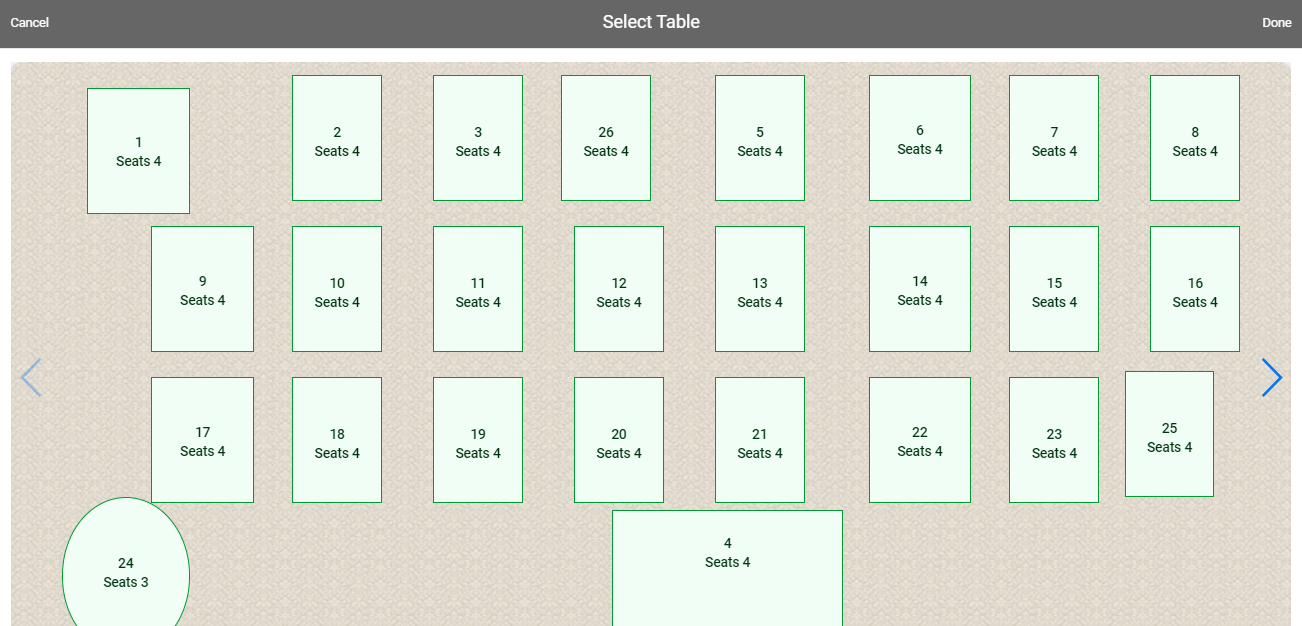
For example –
Step 8.
Click on the table you wish to book and then click Done as shown below.
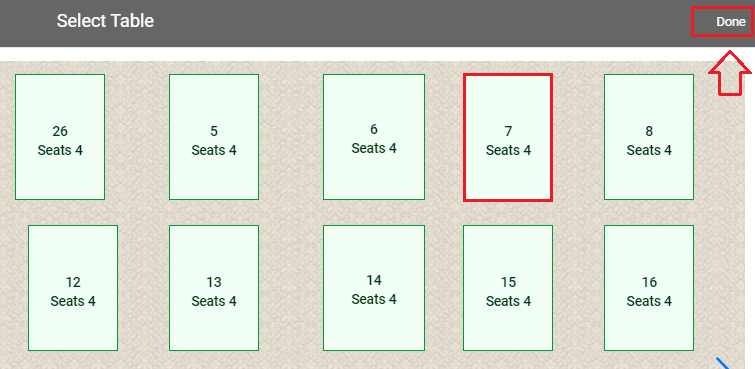
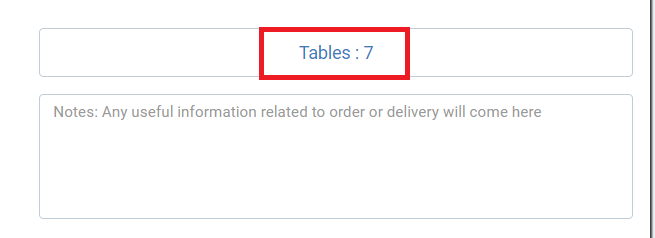
Selected table number will be displayed in Specify Tables section.
NOTE
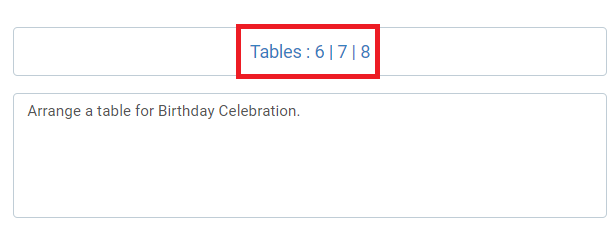
- In case you wish to book multiple tables, click on that tables that you wish to book and then click Done. Table numbers which are booked will displayed as follows.
- To book a table in different area of restaurant like first floor, second floor, bar & lounge, garden and so on, click on the area option at the bottom of the screen or
 icon as shown below.
Select the area and book a table as explained above.
Step 9.
Click on the Proceed button to continue.
NOTE
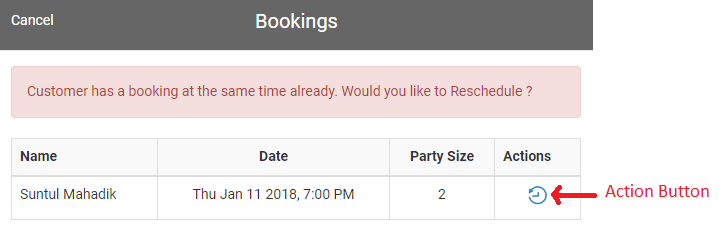
- If a customer has a booking on the same day and same time, a pop-up message appears with a message saying Customer has a booking at the same time already. Would you like to Reschedule ? You can click on the action button and reschedule the booking timings.
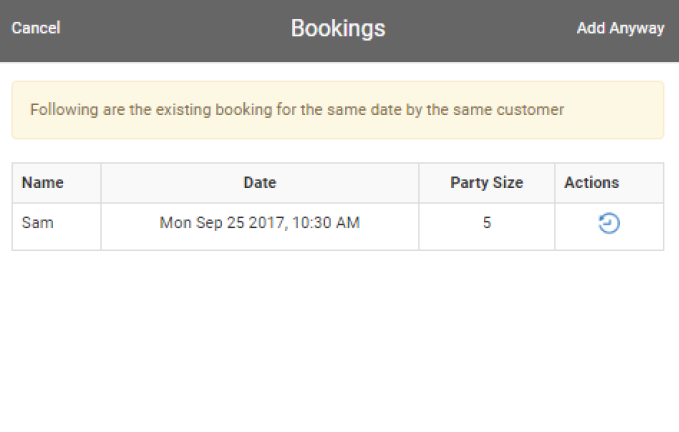
- If the same customer has a booking on the same day, a pop-up message appears with existing booking details. You can still proceed and add the booking by clicking on Add Anyway or edit the previous booking by clicking on action button.
Once done a confirmation message will display with Table Reservation successful message.
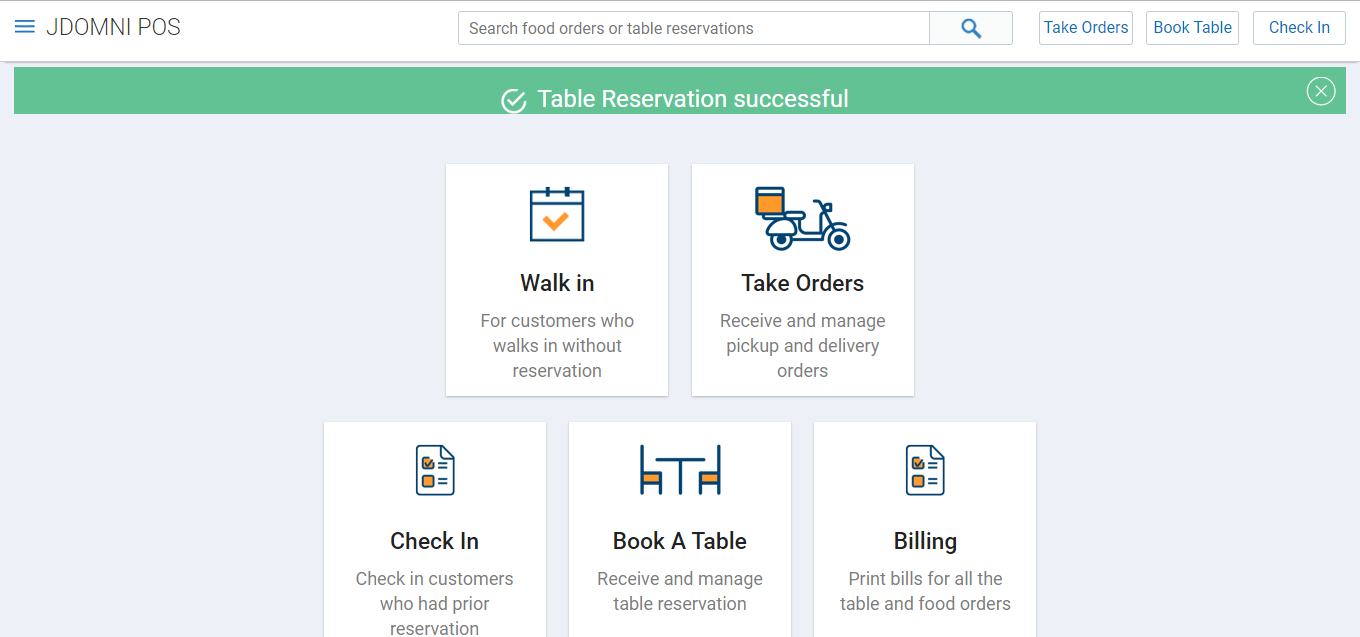
Customer as well as the vendor will receive a confirmation from SMS & Email after successfully booking a table.
Now that the table is booked, you can manage the same booking or add a new one directly from Manage Bookings module.